Capture · 7 min read
Build better lead capture forms
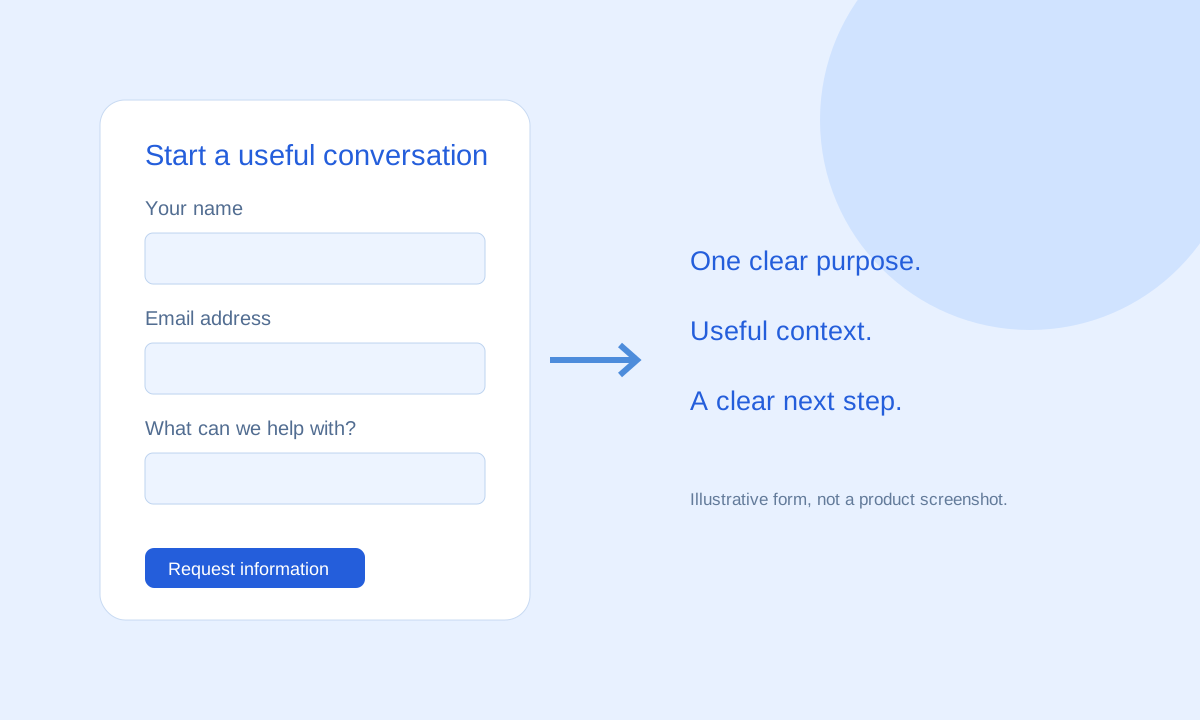
Plan better Wix lead capture forms with useful fields, clear calls to action, accessible labels and a practical submission testing checklist.
Read the guideA simple setup journey, with one important goal: make sure your next inquiry reaches a useful next step.
Start with a Leadya accountRegister on Leadya with your name, workspace name, email and a long password. Your registration creates a separate workspace for your website leads.
Enter your published Wix website address during onboarding. Create a widget key that can submit leads to your workspace without reading existing inquiries or opening your account.
Open the Leadya widget settings in Wix, add your integration key and save. Configure the form around the inquiry you want to capture, then publish the page.
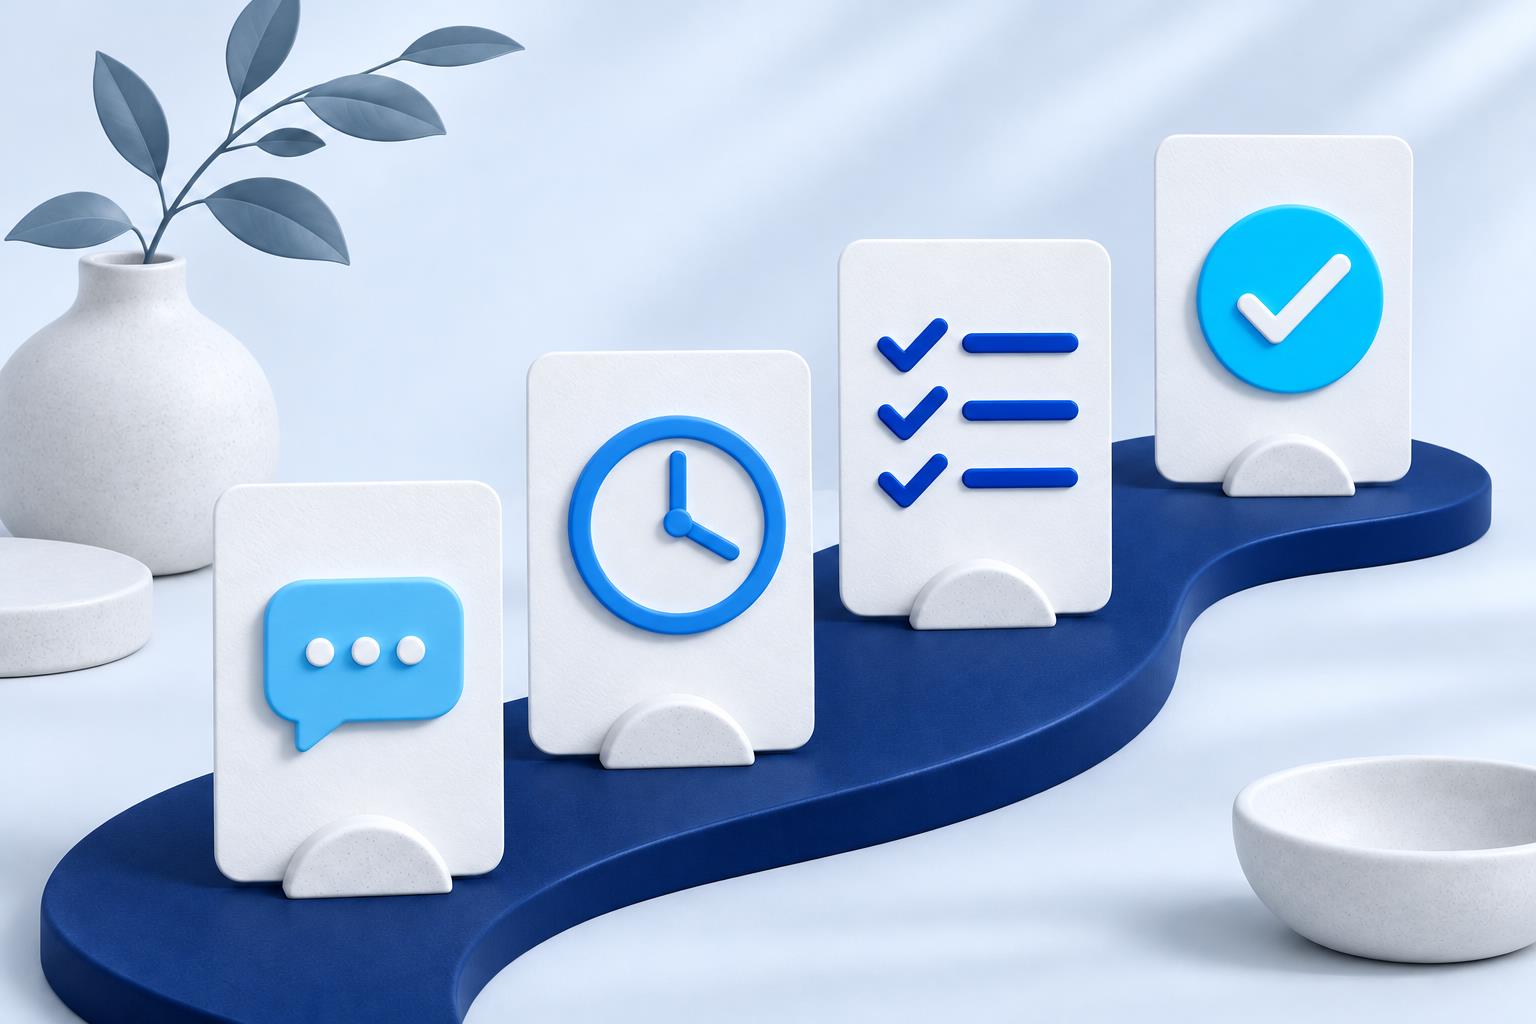
Submit a clearly labeled test inquiry from the published Wix widget. Return to Leadya onboarding and check that a submission has arrived in your own workspace. Test on mobile too.
Agree who reviews new leads, how you record notes and tasks, and how you review outcomes. Improve one part of the journey at a time.
Create your free account, add your Wix website and receive a scoped widget key during onboarding. Then install that key in the Wix widget and verify a test submission.
Existing customer? Log in to Leadya.
Plan better Wix lead capture forms with useful fields, clear calls to action, accessible labels and a practical submission testing checklist.
Read the guideManage Wix website leads with a practical follow-up workflow for ownership, useful first replies, notes, next actions and clear outcomes.
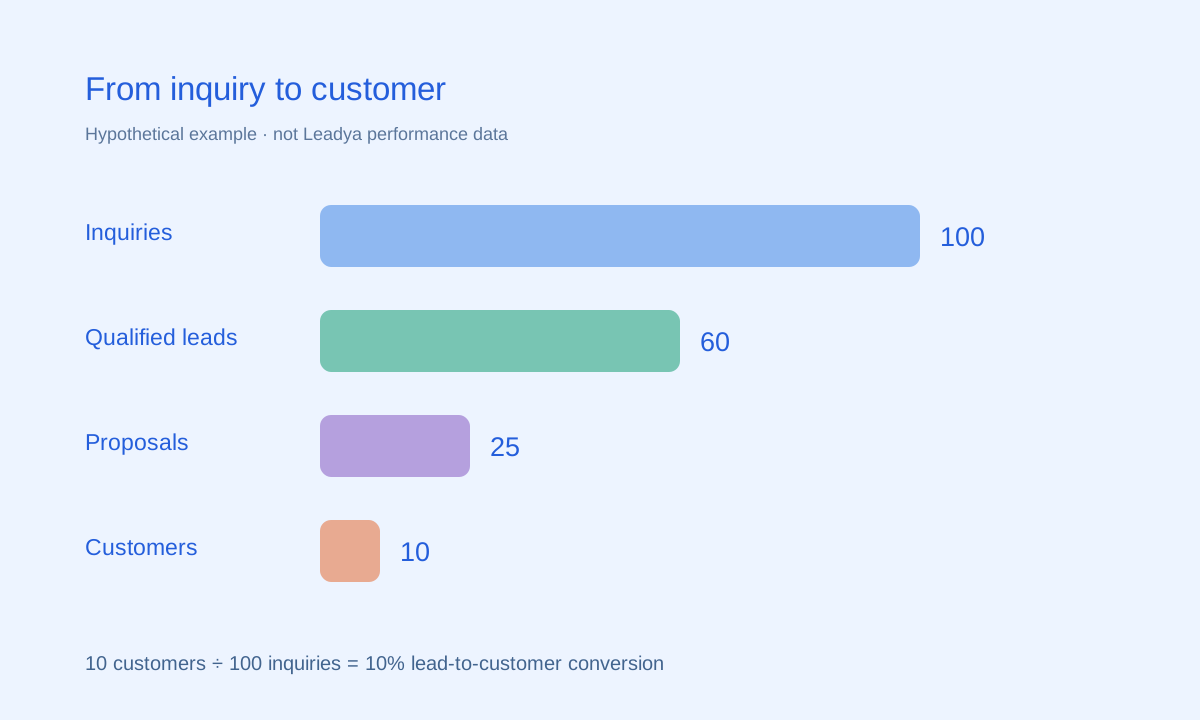
Read the guideUnderstand Wix lead conversion tracking with clear formulas, a sample funnel, reporting definitions and a practical weekly review checklist.
Read the guide